
Balboa VS501SZ Spa Control 1.4/5.5kW Straight Heater 54377-01
$0.00
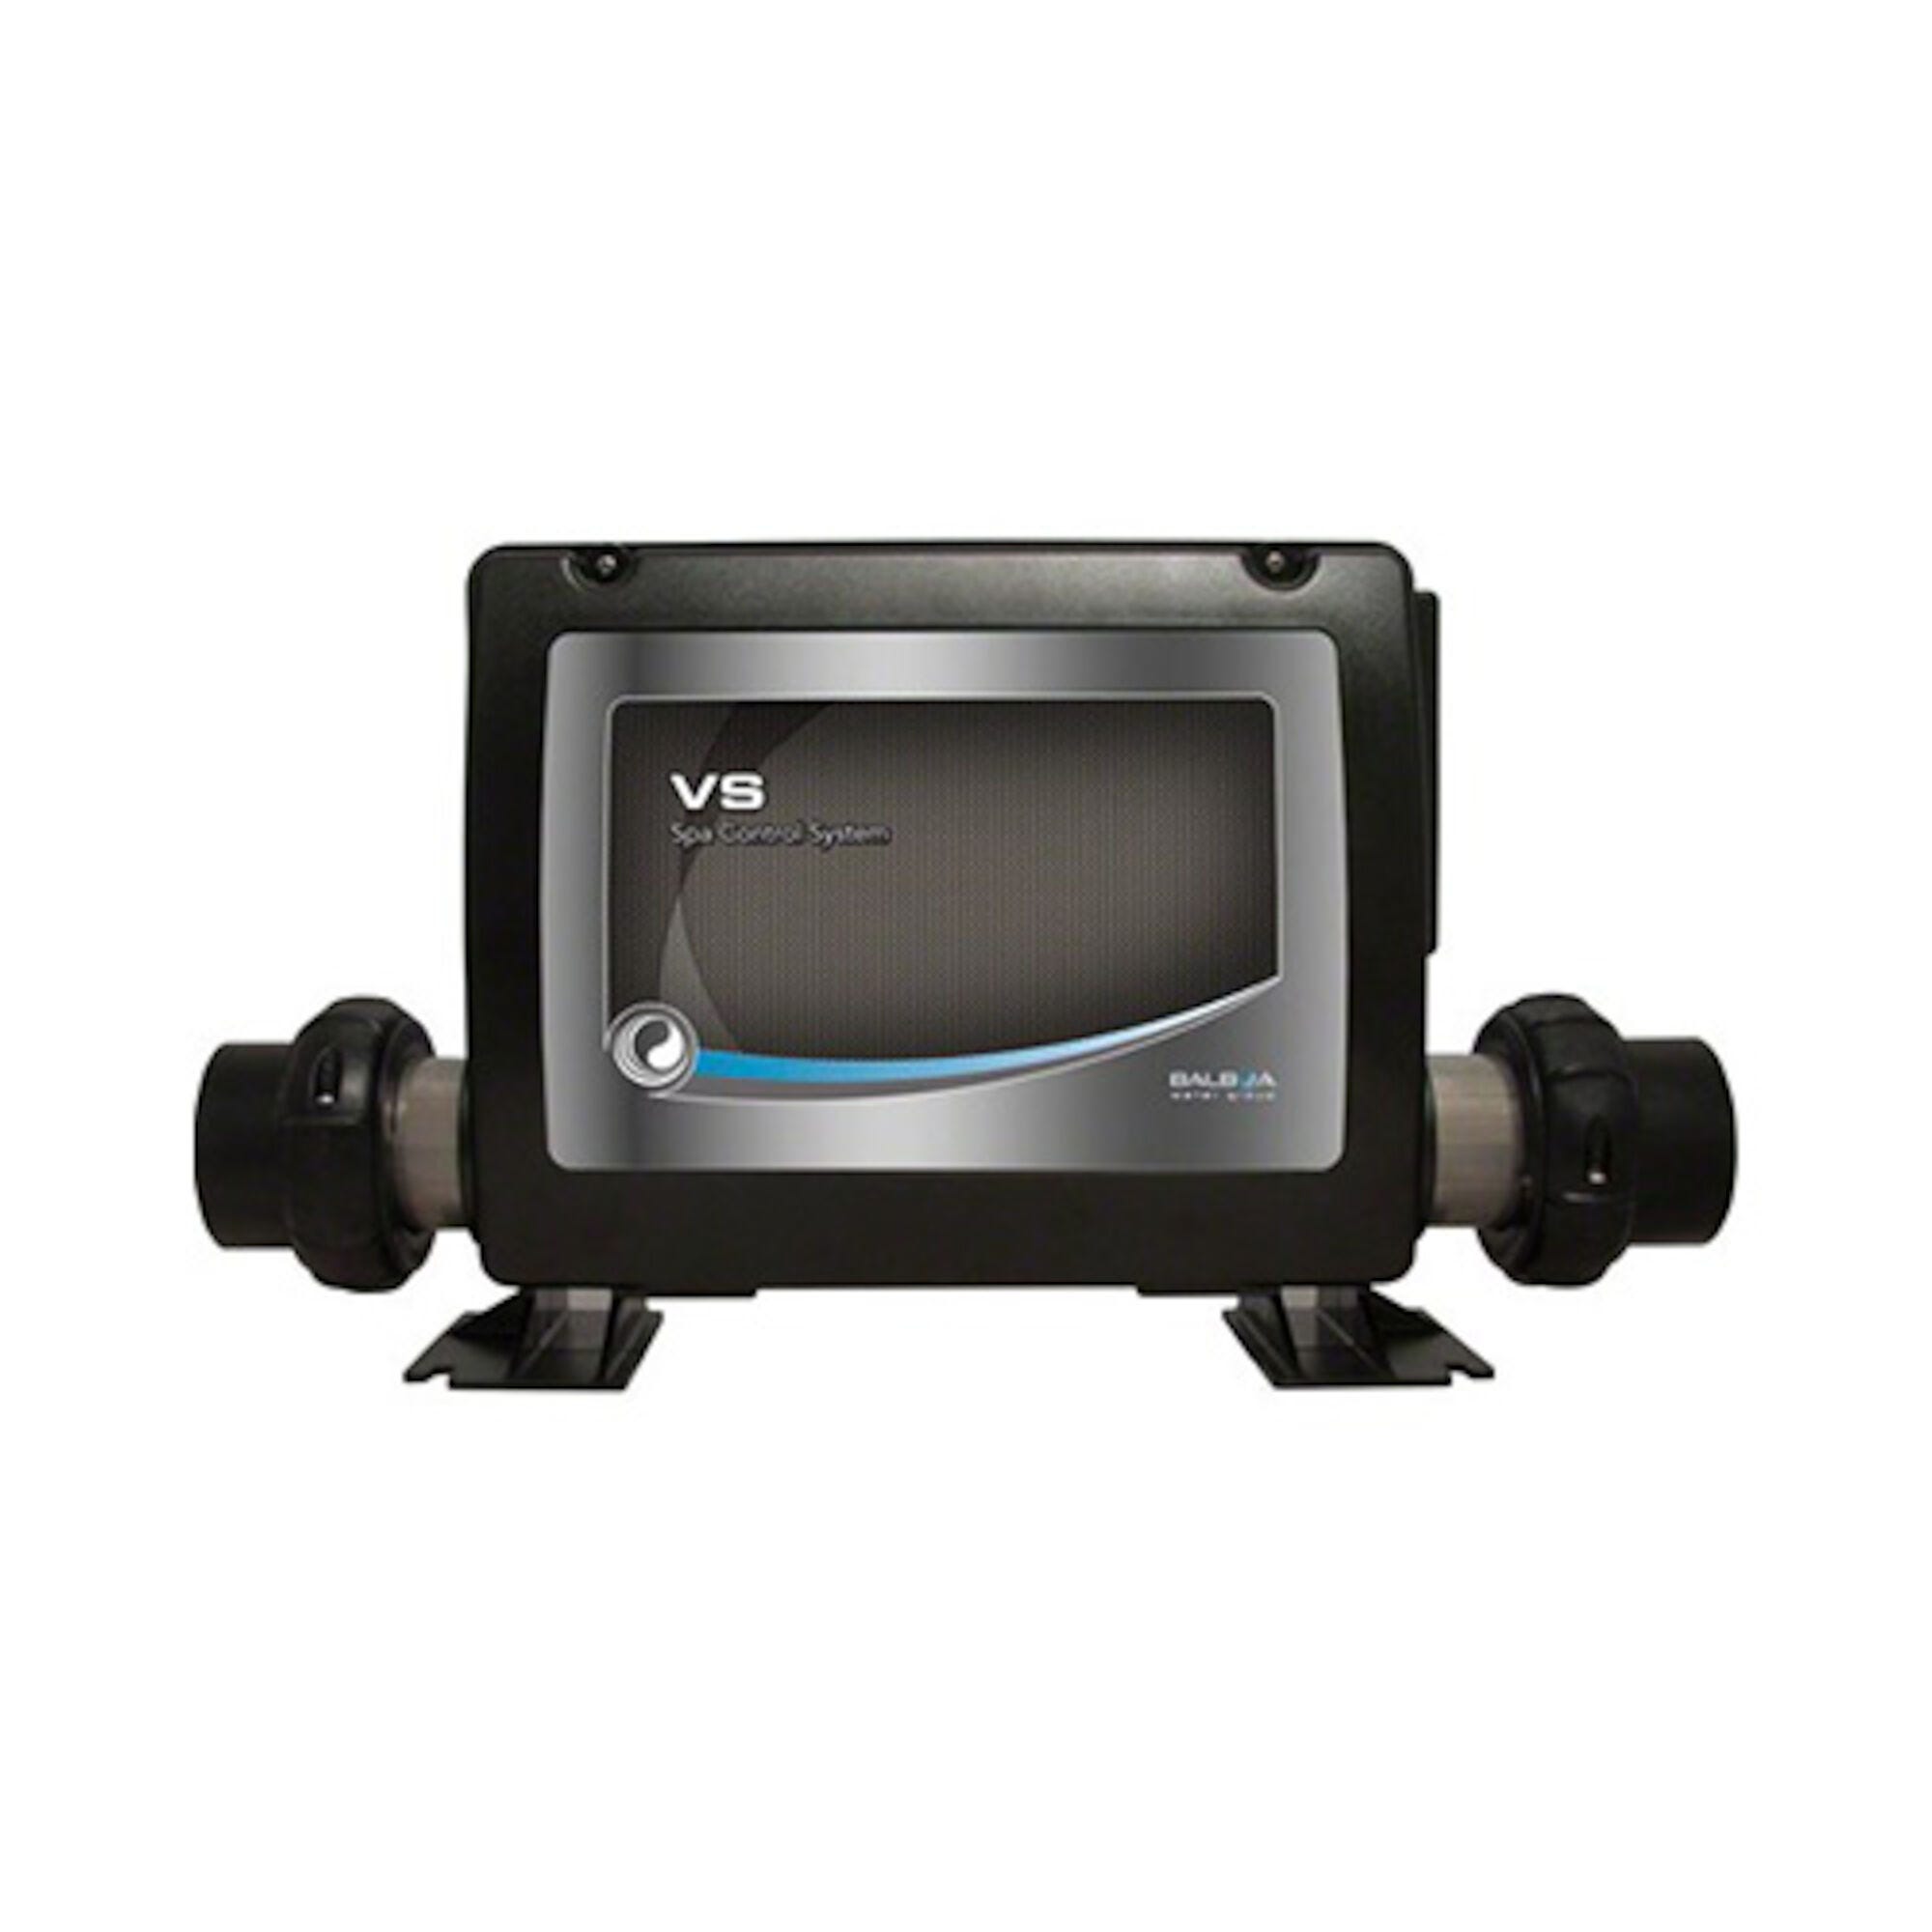
Control System, Balboa VS501SZ, 1.4/5.5kW, Pump1, Blower/Pump2 (1 Spd), AMP Receptacles, Less Cords & Spaside, Uses Serial Standard topsides only (VL600, VL700, VL701)
Out of stock
Want to be notified when this product is back in stock?
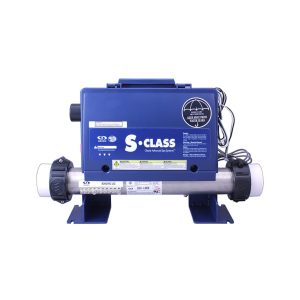
Balboa VS501SZ Spa Control System with Convertible Heater
Value Series Control System with Serial Panel Compatibility
Product Overview
As a retailer of hot tub spare parts, I’m featuring the Balboa VS501SZ – an advanced control system featuring M7 technology and convertible heating power. This retrofit-ready system supports multiple accessories and is compatible with serial standard topside panels.
Technical Specifications
| Specification | Detail |
|---|---|
| Model Number | VS501SZ |
| SKU | 54377-01 |
| Heater Power | 1.4/5.5kW Convertible |
| Heater Type | Straight |
| Pump 1 Support | Yes |
| Pump 2/Blower | Single Speed |
| Connection Type | AMP Receptacles |
| Technology | M7 Sensing |
| Panel Compatibility | VL600/700/701 Series |
| Installation Type | Retrofit |
Designed for use with:
- VL600 Series
- VL700 Series
- VL701 Series
- Serial standard panels
- Digital interfaces
- Modern displays
Controls multiple functions:
- Primary pump
- Secondary pump/blower
- Convertible heating
- Temperature management
- System monitoring
- Multiple accessories
Built-in safeguards:
- M7 temperature monitoring
- Flow protection
- Freeze prevention
- Voltage monitoring
- Current sensing
- System diagnostics
 |
Balboa VS Manual |
|
Balboa Troubleshooting Manual |
 |
Andi’s Top Tip – VS Spa Packs are compatible with the VL series of Topside Controls. These topside controls are interchangeable but you should check the size of the existing spa controls if you are looking to replace them. There is a manual here that shows the size and dimensions of each of the VL models. |
Additional components needed:
- Compatible topside panel
- Connection cords
- Mounting hardware
- Ground fault protection
- Proper ventilation
- Professional installation
Compatible Topside Controls
Filters Sort results
Reset Apply
Spaside Control, Balboa VL200 by HydroQuip, Mini Oval, LCD, 4-Button w/Label 80-11852, Jets-Light-Cool-Warm, 7' Cord | ||
 | Spaside Control, Balboa VL406U, 4-Button, LCD, Jets-Warm-Light-Cool | |
Spaside Control, Balboa VL400, 4-Button, LCD, Less Overlay, 8 Pin Phone Type, | ||
Spaside Control, Balboa VL404, Digital Duplex, 4-Button, LED, No Overlay | ||
Spaside Control, Balboa, VL240, 4-Button, Clear, No Overlay | ||
Spaside Control, Balboa VL260, Oval, 4-Button, Clear Bezel, LCD, No Overlay | ||
Spaside Control, Balboa VL200, Clear, Mini Oval, 4-Button, LCD, No Overlay | ||
Spaside Control, Balboa VL702S, Serial Standard, LCD, 7-Button, No Overlay | ||
 | Spaside Control, Balboa VL701S, Serial Standard, LCD, 7-Button, Aux-Mode-Up, Pump1-Pump2-LT-DN | |
Spaside Control, Balboa VL700S, Oblong, 7-Button, LCD, No Overlay |
Alternate Part Numbers
- 54377-03 (Balboa)
- 59-138-1682
- 54377
- BB54377
- BAL54377
Filters Sort results
Reset Apply
Module, WiFi, Balboa Control MySpa Ultra Gateway US/Canada | ||
") | Extension Cable, Spaside, Balboa BP Series, 25' Long w/4 Pin Molex Cable | |
Extension Cable, Spaside, Balboa ML Series, 7' Long w/8 Pin Molex Cable | ||
Extension Cable, Spaside, Balboa, 25' Long, 6 Pin Phone Cable | ||
Extension Cable, Spaside, Balboa, 10' Long, 8 Pin Phone Cable |
Hot Tub Wiring – Configuring a Balboa BP7 Spa Control 4.0kW Spa Pack
If you are using a basic setup, and by basic I mean a regular dual speed hot tub pump with a single speed blower, out of the box, your Balboa pack is likely to work without any additional configuration. However, if you are not using a separate circulation pump, the chances are you will need to “configure” the pack using the details below.
On the underside of the Spa Pack covers, you will see a circuit diagram that looks something like this.
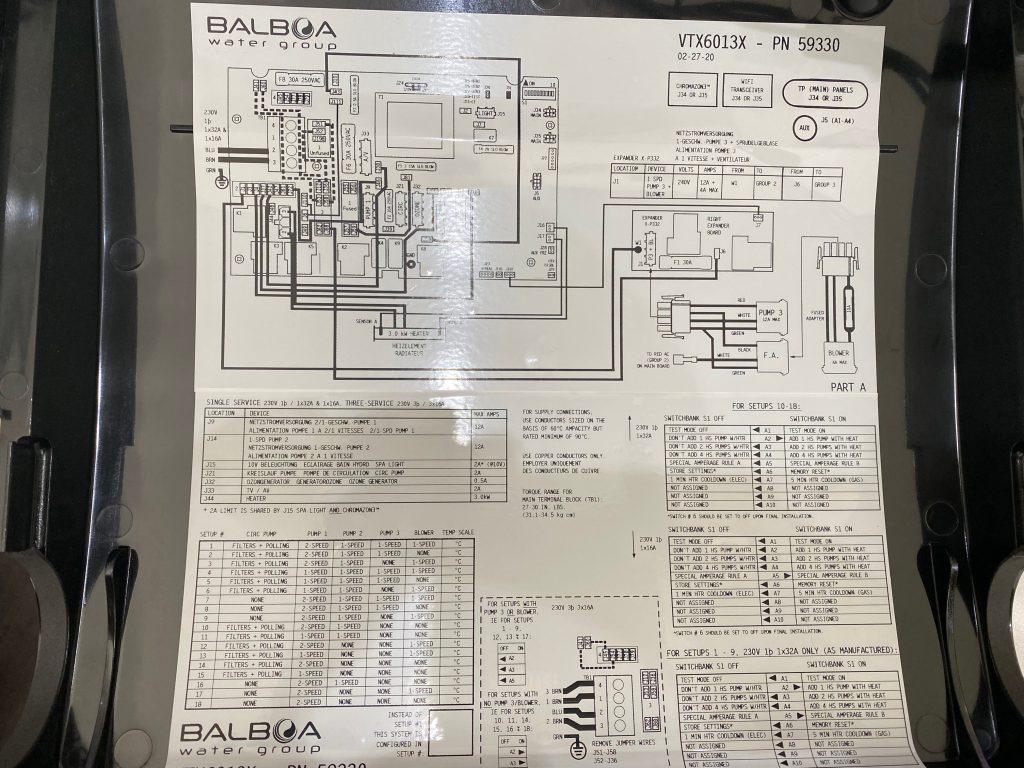
Firstly, you need to work through the setup table at the bottom on the left hand side and work out which setup number you need. For example, a 2 speed pump and a single speed blower will need setup #12.
Next, you need to change the DIP switch settings to match your setup. Once you have the right combination of DIP switches, using the topside control you should do the following to change the pack’s setup mode to #12.
To go into the low levels follow the following steps please.
- Turn tub off.
- DIP switch 1 move to ON.
- Turn tub on
- On the top side control, Press “WARM” twice
- Press “LIGHT”
- Press “WARM”
- Then use “WARM” to move down to the low levels until you get on the set up number you need.
- Turn off tub
- DIP switch one back to OFF
- Turn on tub
Getting the right setup and config is important for the pack to function correctly and the buttons on the top side to do what you expect them to.
Balboa DIP Switches Explained
Most of the Balboa Spa Packs have a set of DIP switches that can seem a little confusing in the setup. In the most basic form, you are telling the Spa Pack how many pumps or blowers you have connected and how many it should allow to run before it turns off the heater (or let them all run at once). The reason for this is if you are limiting the amount of current the pack can draw. You are also telling the pack wither you need additional cool down times if you are using an gas/propane/ASHP additional heater. This to stop the kettling effect you can get in the heaters.
Check the circuit diagram that is on the inside of your Balboa pack and do not just copy the settings I explain below as they may be in a different order. The “logic” behind them is the same so just check what each of the DIP switches says it does.
Fixed-fuction DIP Switches
A1 Test Mode (normally Off).
A2 In “ON” position, add one high-speed pump (or blower) with Heater. (If you have 1 pump and NO blower use this)
A3 In “ON” position, add two high-speed pumps (or 1 HS Pump and Blower) with Heater. (If you have a pump and a blower use this)
A4 In “ON” position, add four high-speed pumps (or 3 HS Pumps and Blower) with Heater. (If you have two or three pumps and a blower use this)
You should only enable one of the A2, A3 or A4. You can use them in combinations, but it is easier just to use one.
A5 In “ON” position, enables Special Amperage Rule B. In “OFF” position, enables Special Amperage Rule A.
Special Amperage Rule A No Limitation (if you are not sure, set it to this. Worst case, your electric will trip if you don’t have enough current available)
Special Amperage Rule B 2 High Speed Pump Maximum, in Setups 1 – 9 1 High Speed Pump Maximum, and also Blower turns off with 1 High Speed Pump, in Setups 10 – 18 (avoid this if you can)
A6 Persistent memory reset (Used when the spa is powering up to restore factory settings as determined by software configuration).
A2, A3, and A4 work in combination to determine the number of high-speed devices and blowers that can run before the heat is disabled. i.e. A2 and A3 in the ON position and A4 in the OFF position will allow the heater to operate with up to 3 high‑speed pumps (or two HS Pumps and Blower) running at the same time. Heat is disabled when the fourth high-speed pump or blower is turned on.
Note: A2/A3/A4 all off = No heat with any high-speed pump or blower.
Assignable DIP Switches
A7 In “ON” position, enables a 5-minute cooldown for some gas heaters (Cooling Time B). In “OFF” position, enables a 1-minute cooldown for electric heaters (Cooling Time A).
Who are Balboa Water Group?
Balboa Water Group is a prominent manufacturer and supplier of innovative spa and hot tub components. With a rich history spanning several decades, Balboa Water Group has established itself as a leading brand in the industry, known for its cutting-edge technology, quality craftsmanship, and exceptional customer service.
Balboa Water Group specializes in designing and manufacturing spa control systems, which serve as the brains behind the operation of hot tubs and spas. These control systems include a control panel, circuit board, and other components that regulate various functions, such as temperature control, water flow, jet activation, and lighting.
One of the key strengths of Balboa Water Group is their dedication to innovation. They continuously strive to develop new and advanced technologies that enhance the spa experience for users. From user-friendly interfaces and touchscreens to wireless connectivity and smartphone apps, Balboa control systems offer convenient and intuitive control over every aspect of the spa.
Balboa Water Group also places a strong emphasis on safety and energy efficiency. Their control systems often feature built-in safety mechanisms, such as high-limit sensors and automatic shutdowns, to protect users from potential hazards. Additionally, they incorporate energy-saving features that optimize power consumption, helping to reduce operating costs and environmental impact.
In addition to control systems, Balboa Water Group offers a comprehensive range of spa components and accessories. These include pumps, heaters, filters, jets, valves, and more. Their products are known for their durability, reliability, and compatibility with various hot tub models and brands.
Customer satisfaction is a top priority for Balboa Water Group. They provide excellent technical support, troubleshooting assistance, and product documentation to help spa owners and industry professionals make the most of their products. Balboa also collaborates closely with spa manufacturers and distributors worldwide, ensuring that their components are widely available and supported.
Balboa Water Group's commitment to quality and innovation has earned them a stellar reputation within the spa industry. Whether you are a hot tub owner, a spa designer, or a service professional, choosing Balboa products can provide you with the confidence and reliability you need to create a superior spa experience.
Overall, Balboa Water Group is a trusted and respected name in the spa industry, known for its technologically advanced spa components, commitment to customer satisfaction, and ongoing pursuit of innovation. Their products and solutions continue to elevate the spa experience for users around the world.
| Brand | Balboa |
|---|---|
| Wattage | 1.4/5.5KW |
| Voltage | 115/230v |
Related products
Out of stock
Balboa Spa Pack Controls
$498.90
Out of stock
Jet Pumps
$5.46
Out of stock
Balboa Spa Pack Controls
$0.00
Out of stock
Balboa Spa Pack Controls
$740.70
Balboa Spa Pack Controls
$444.14
Balboa Spa Pack Controls
$457.53

Balboa Spa Pack Controls
Balboa BP7 Spa Control 4.0kW Remote Flow Thru Heater G6406 & TP600 Topside Controls
$599.00

Out of stock
Balboa Spa Pack Controls
$0.00