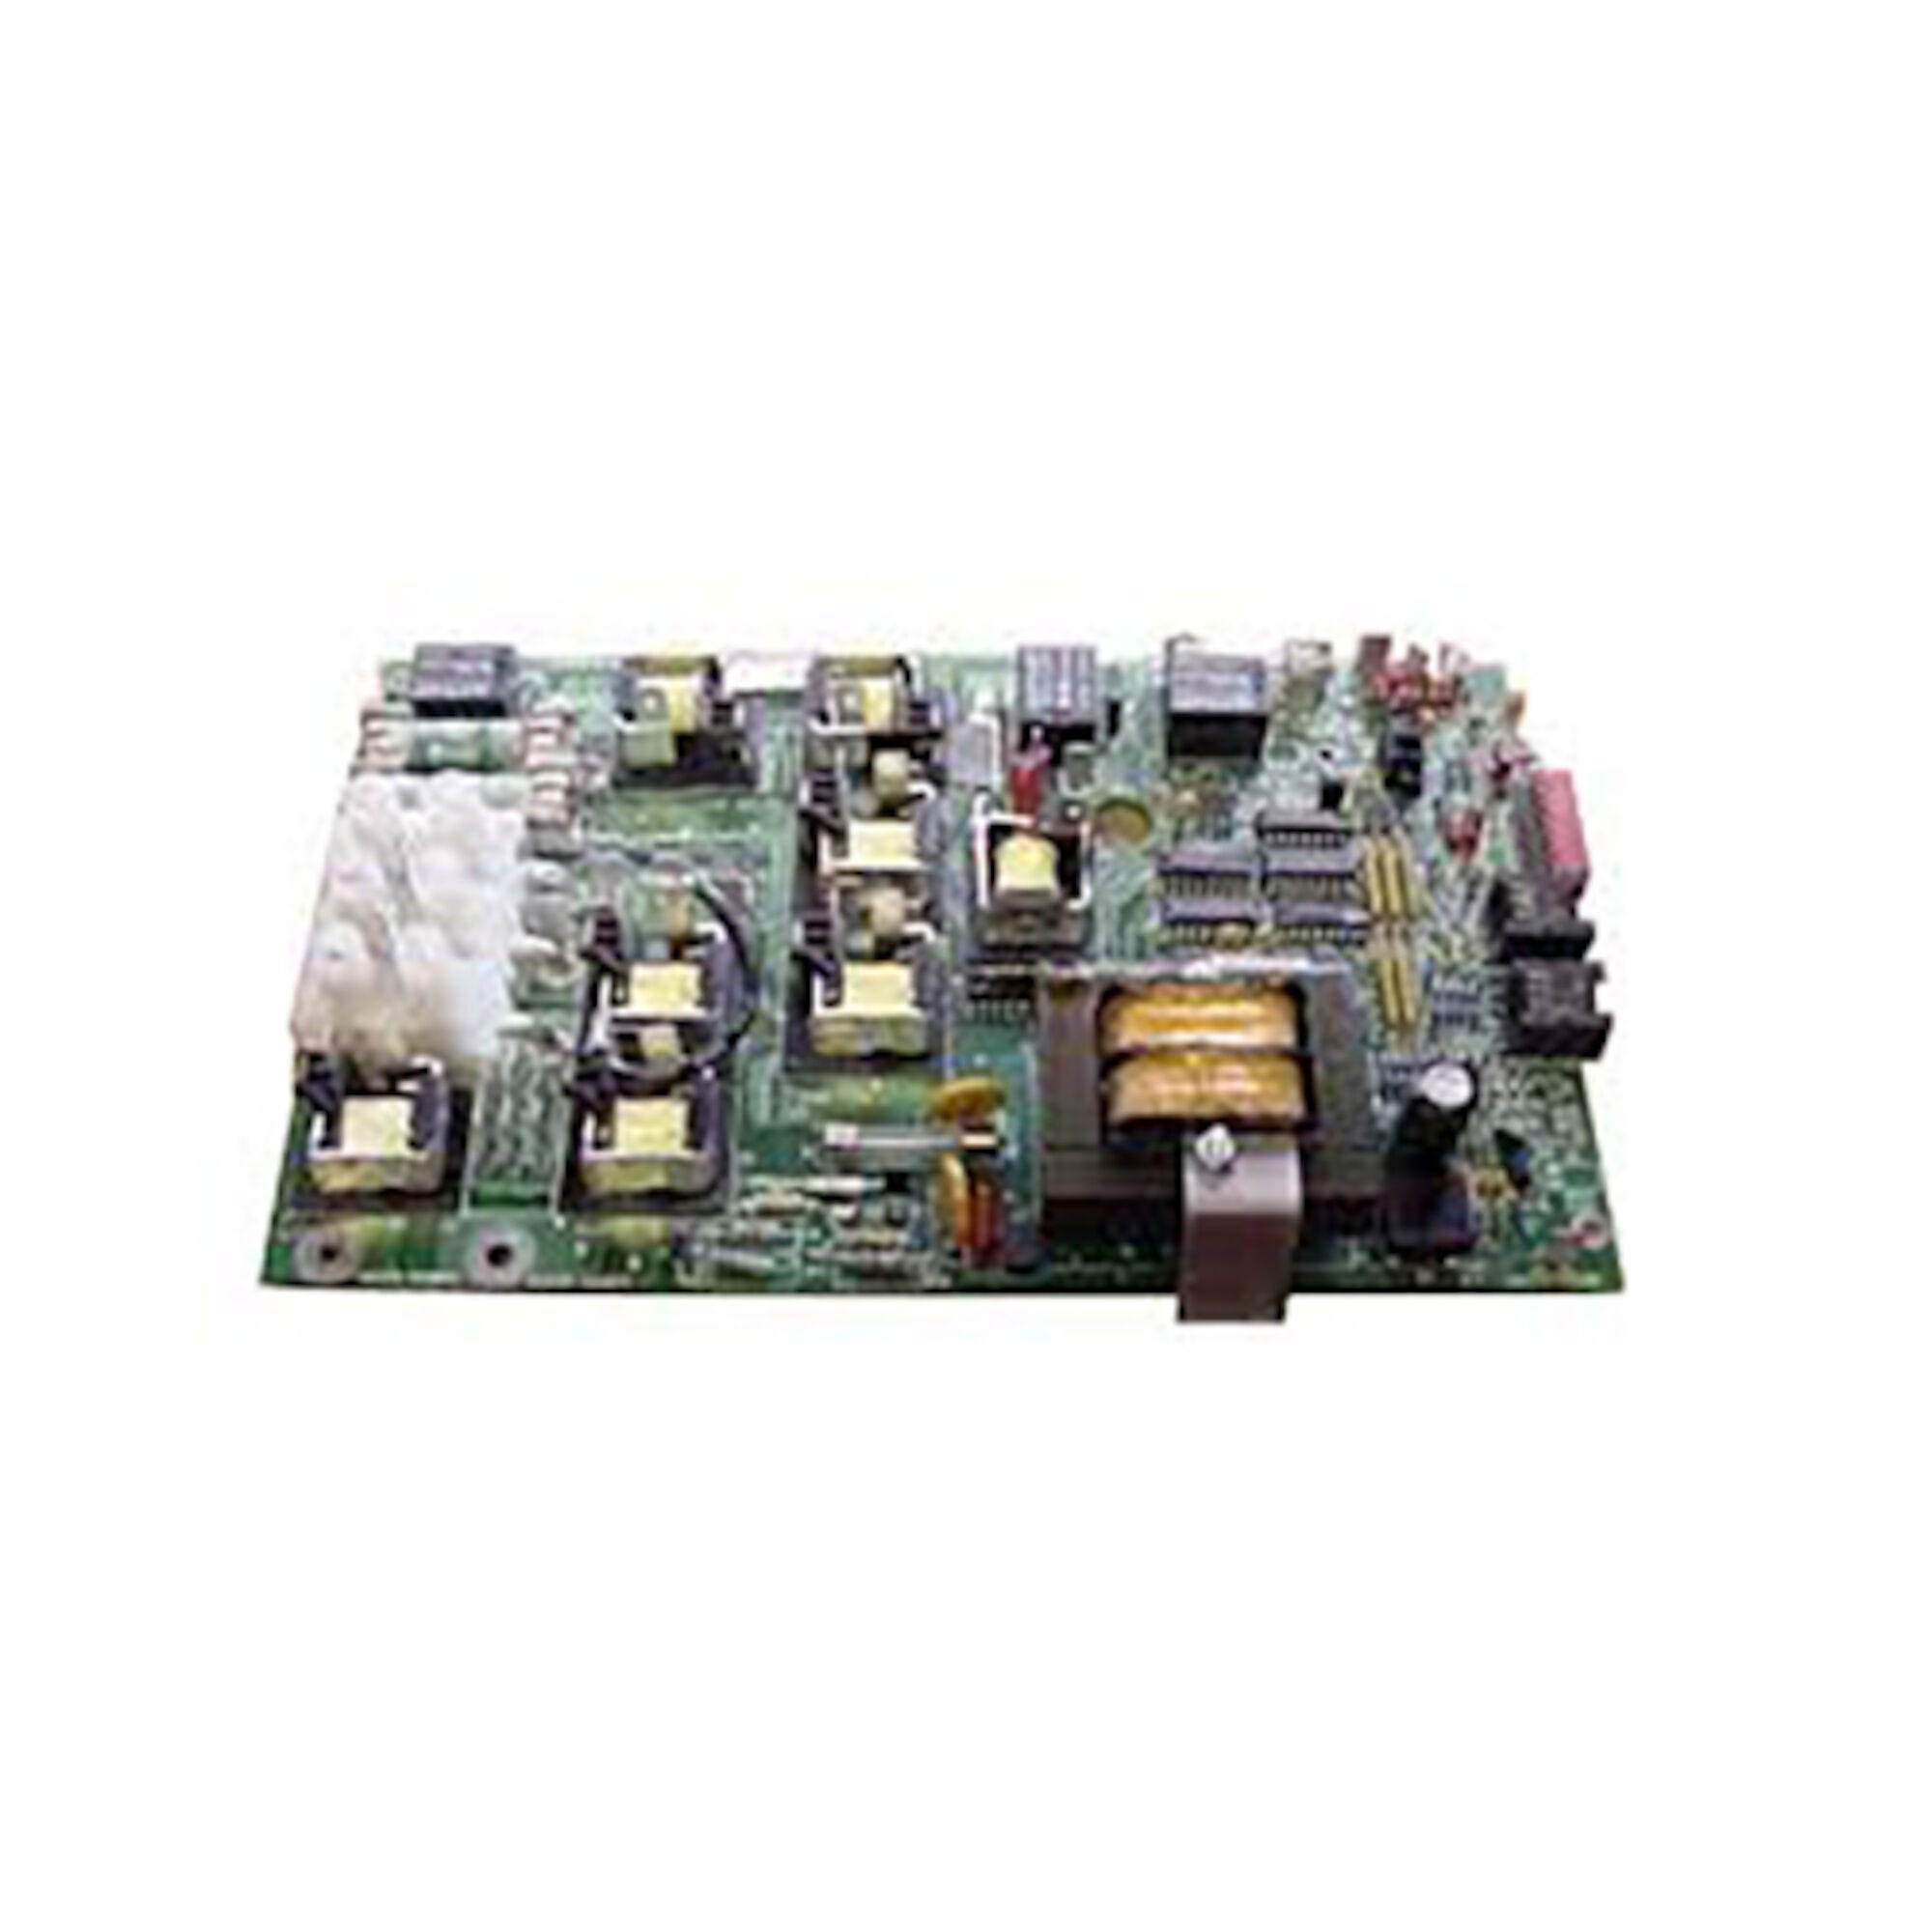
Master Spa MAS470 Keypad X800760
Circuit Board, Master Spa, MAS470, 1999-2003, OEM replacement
Want to be notified when this product is back in stock?
Master Spa MAS470 Control Panel (X800760)
Product Overview
As a retailer of hot tub spare parts, I’m offering the Master Spa MAS470 control panel, an OEM replacement panel designed for Master Spa systems from 1999-2003. This comprehensive control panel includes both circuit board and interface components.
Features and Benefits
- Six-button interface design
- Wide panel configuration
- Phone-style connector
- OEM replacement quality
- Comprehensive control functions
- Professional-grade construction
- Complete control solution
Technical Specifications
| Specification | Detail |
|---|---|
| Model Number | X800760 |
| Manufacturer | Master Spa |
| Compatible Years | 1999-2003 |
| Panel Width | 13 inches |
| Panel Height | 2.5 inches |
| Button Count | 6 |
| Connection Type | 8-Pin Phone Style |
| Control Functions | Jets 1/2, Light, Mode, Warm/Cool |
| Overlay Model | X509010 |
Control Functions
- Dual jet control (Jets 1 & 2)
- Light operation
- Mode selection
- Temperature control (Warm/Cool)
- System programming
System Compatibility
Specifically designed for:
- Master Spa systems
- Balboa/Master Spa packs
- Two-pump configurations
- 1999-2003 model years
Installation Details
The control panel includes:
- Circuit board
- 8-pin phone style connector
- Down East overlay (X509010)
- Mounting hardware
Alternate Part Numbers
What is a Hot Tub Keypad Overlay?
A hot tub keypad overlay, also known as a spa control panel overlay, is a protective and decorative component used in hot tubs and spas. It typically consists of a thin, clear or colored piece of material, often made of durable plastic or silicone, that is designed to cover and protect the control panel or keypad of the hot tub.
Here's what a hot tub keypad overlay does:
-
Protection: The overlay acts as a protective barrier for the underlying control panel or keypad. It shields the sensitive electronics and buttons from exposure to water, chemicals, UV rays, and physical damage, such as scratches or abrasions. This helps extend the lifespan of the control panel.
-
Enhancement: Many overlays are designed with labels, graphics, and button outlines that enhance the appearance of the control panel. They often include icons or text that provide clear instructions for operating the hot tub, making it user-friendly, especially for those who may not be familiar with the hot tub's functions.
-
Customization: Hot tub keypad overlays can be customized to match the branding or style of the hot tub manufacturer. They may feature the manufacturer's logo, model name, or specific design elements. Some hot tub owners choose to customize overlays to add a personal touch to their spa.
-
Ease of Cleaning: The overlay is easier to clean and maintain than the underlying control panel. Spills, dirt, or chemical residues that come into contact with the overlay can be wiped away without affecting the control panel's functionality.
-
Replacement: Over time, keypad overlays may wear out or become damaged due to exposure to harsh spa conditions. Fortunately, they are relatively easy and cost-effective to replace when needed, allowing you to refresh the appearance of your hot tub's control panel.
When replacing a hot tub keypad overlay, it's essential to choose one that is compatible with your hot tub's make and model to ensure that the button layout and functions match the original control panel. This compatibility ensures that the overlay fits correctly and accurately represents the hot tub's settings.
In summary, a hot tub keypad overlay serves as a protective, decorative, and informative layer for the control panel, enhancing the user experience and prolonging the life of the hot tub's control system.
How do you replace a hot tub keypad overlay?
Replacing a hot tub keypad overlay is generally a straightforward process that can be done with some basic tools and careful attention. Here's a step-by-step guide on how to replace a hot tub keypad overlay:
Tools and Materials Needed:
- New keypad overlay (ensure it's compatible with your hot tub model)
- Screwdriver (usually a Phillips-head)
- Mild cleaner or rubbing alcohol
- Soft cloth or paper towels
Step-by-Step Instructions:
-
Turn Off Power: Start by turning off the power to your hot tub. This is essential for safety reasons.
-
Access the Control Panel: Depending on your hot tub's design, you may need to remove a cover or panel to access the control panel. Use a screwdriver to remove any screws or fasteners holding the cover in place.
-
Remove the Old Overlay: Carefully peel off the old keypad overlay. Begin at one corner and gently lift it away from the control panel. Take your time and be cautious not to damage the control panel or its components.
-
Clean the Control Panel: After removing the old overlay, use a soft cloth or paper towel and a mild cleaner or rubbing alcohol to clean the control panel's surface. This step ensures that the new overlay adheres properly and looks clean.
-
Prepare the New Overlay: Ensure that the new hot tub keypad overlay is clean and free of any dust or debris. If the new overlay has an adhesive backing, remove the protective film to expose the adhesive.
-
Align and Apply the New Overlay: Carefully align the new overlay with the control panel. Make sure it matches the button layout and design of the control panel. Begin by aligning one corner and gradually press the overlay onto the control panel's surface, working your way across. Smooth out the overlay to prevent air bubbles or wrinkles.
-
Secure the Control Panel Cover: If you had to remove a cover or panel to access the control panel, reattach it using the screws or fasteners you removed earlier.
-
Turn On Power: Once the new overlay is securely in place, and the control panel cover is reattached, turn the power back on at the main circuit breaker.
-
Test the Keypad: Test the keypad buttons to ensure they function correctly. Press each button to verify that it corresponds to the correct function on the hot tub.
-
Final Cleaning: After installation and testing, wipe down the new overlay with a clean, dry cloth to remove any fingerprints or residue.
You've now successfully replaced your hot tub's keypad overlay. Make sure to use a compatible overlay, and exercise caution during the replacement process to avoid damaging the control panel.
Finding and identifying a replacement Hot Tub Circuit Board (PCB)
If you are looking to replace a failed PCB on your Hot Tub’s spa pack, then quite often identifying the part that you need can be the hardest thing.
Firstly, you are looking for a model number on the actual circuit board itself. Having the model or serial of your hot tub is not going to help at this point, you need to find the number on the PCB itself.
Now, with certain brands of PCB, the number of the replacement PCB that you need is not going to match identically the one you are replacing. Why is that I hear you ask?
Well, normally, it is an updated version. This means that it might have updated firmware on the PCB or be a later revision. Normally, this means that the part number would be slightly different. This is usually indicated with a “12345678 -x” at the end of that part number where x indicated a firmware revision.
In some cases, there will be some following letters on the part number of the circuit board, “12345678 -x MAS” this can indicate that the PCB was used for an OEM meaning it was produced for a certain hot tub manufacturer and the letters identify the manufacturer.
This means if you source an original PCB, it will not have the letters, but will in most cases work just fine.
It can be confusing I know!
What if you can’t find a model number?
If you can’t find a model number on the PCB itself, then you need to look for a model number on the spa pack. Normally, there is a sticker on the outside of the spa pack that tells you the current ratings and input voltages etc and this will have a model number.
In general, most spa packs in the USA are manufactured by Balboa, Hydro-Quip, ACC or Gecko. I know I am generalising here, but if you have a spa pack that has the brand of your hot tub on, it will be an OEM so the key is identifying who made the original box.
From there, you can normally find an original PCB that you will be able to switch out.
For example, the Balboa VS (value series) is a very popular spa pack that has been used by multiple hot tub manufacturers under their own brand names. Whatever they have called it, strip it back and it is still a Balboa VS.
Visual Inspection
One of the most important things you can do when you are looking for a replacement is to visually inspect the PCB that you have versus the picture online of the replacement you are considering. They need to look the same even if there are the differences in firmware revisions or OEM part numbers, you should be visually replacing a PCB that looks like the one you have.
Configuring a replacement Hot Tub Circuit Board (PCB)
When you get a new PCB, you are more than likely going to need to configure it. Most PCBs have a number of different modes and setups that the can operate in. For this, you will need to manual or spec sheet to guide you.
For things like DIP switches, most of the time you can copy the settings from your original circuit board. You are looking for things like setting the voltage as a lot of PCBs can be configured to run on both 115V and 230V.
You may need to move jumpers or even wires to configure voltages – the key here is that you read the schematic and don’t expect the PCB to just work out of the box – it usually doesn’t.
Troubleshooting a Hot Tub Circuit Board (PCB)
Here are some common things you will see when you replace a PCB on a hot tub.
You press the buttons on the topside control and they don’t control the right parts (pumps or blower etc) – this is a mode configuration thing and you will either need to change some DIP switches on the PCB or an internal or low level programming mode on the topside control. Check the manual for how to do this.
You turn on the hot tub and it trips the breaker – it is not common for a new PCB to fail out of the box (I have not seen one yet!) However, a common mistake is that the voltage has not been set correctly. If it is set for 115V and then you try and turn it on, the current draw will be a lot more (twice) than expected and the breaker will trip.
To check this, unplug all of your kit – heater, pumps, blower and then turn on the PCB. If it trips with nothing plugged in, usually the voltage is incorrectly set and what is happening is that live current is being sent to the ground – because you have 4 wires into the PCB rather than 3. Current on the ground loop causes the trip. Check the settings to make sure it is configures for 230V.
It might not trip until you physically turn on a pump or a blower. As mentioned, if the pack is set to 115V and your pump is meant for 230V, it will draw twice the current at half the voltage and trip your breaker. Check the manual for info on how to set the voltage.
| Brand | Master Spa |
|---|
Related products
Master Spa Circuit Boards
Master Spa Circuit Boards
Master Spa Circuit Boards
Master Spa Circuit Boards
Master Spa Circuit Boards
Master Spa Circuit Boards
Master Spa Circuit Boards
Master Spa Circuit Boards


