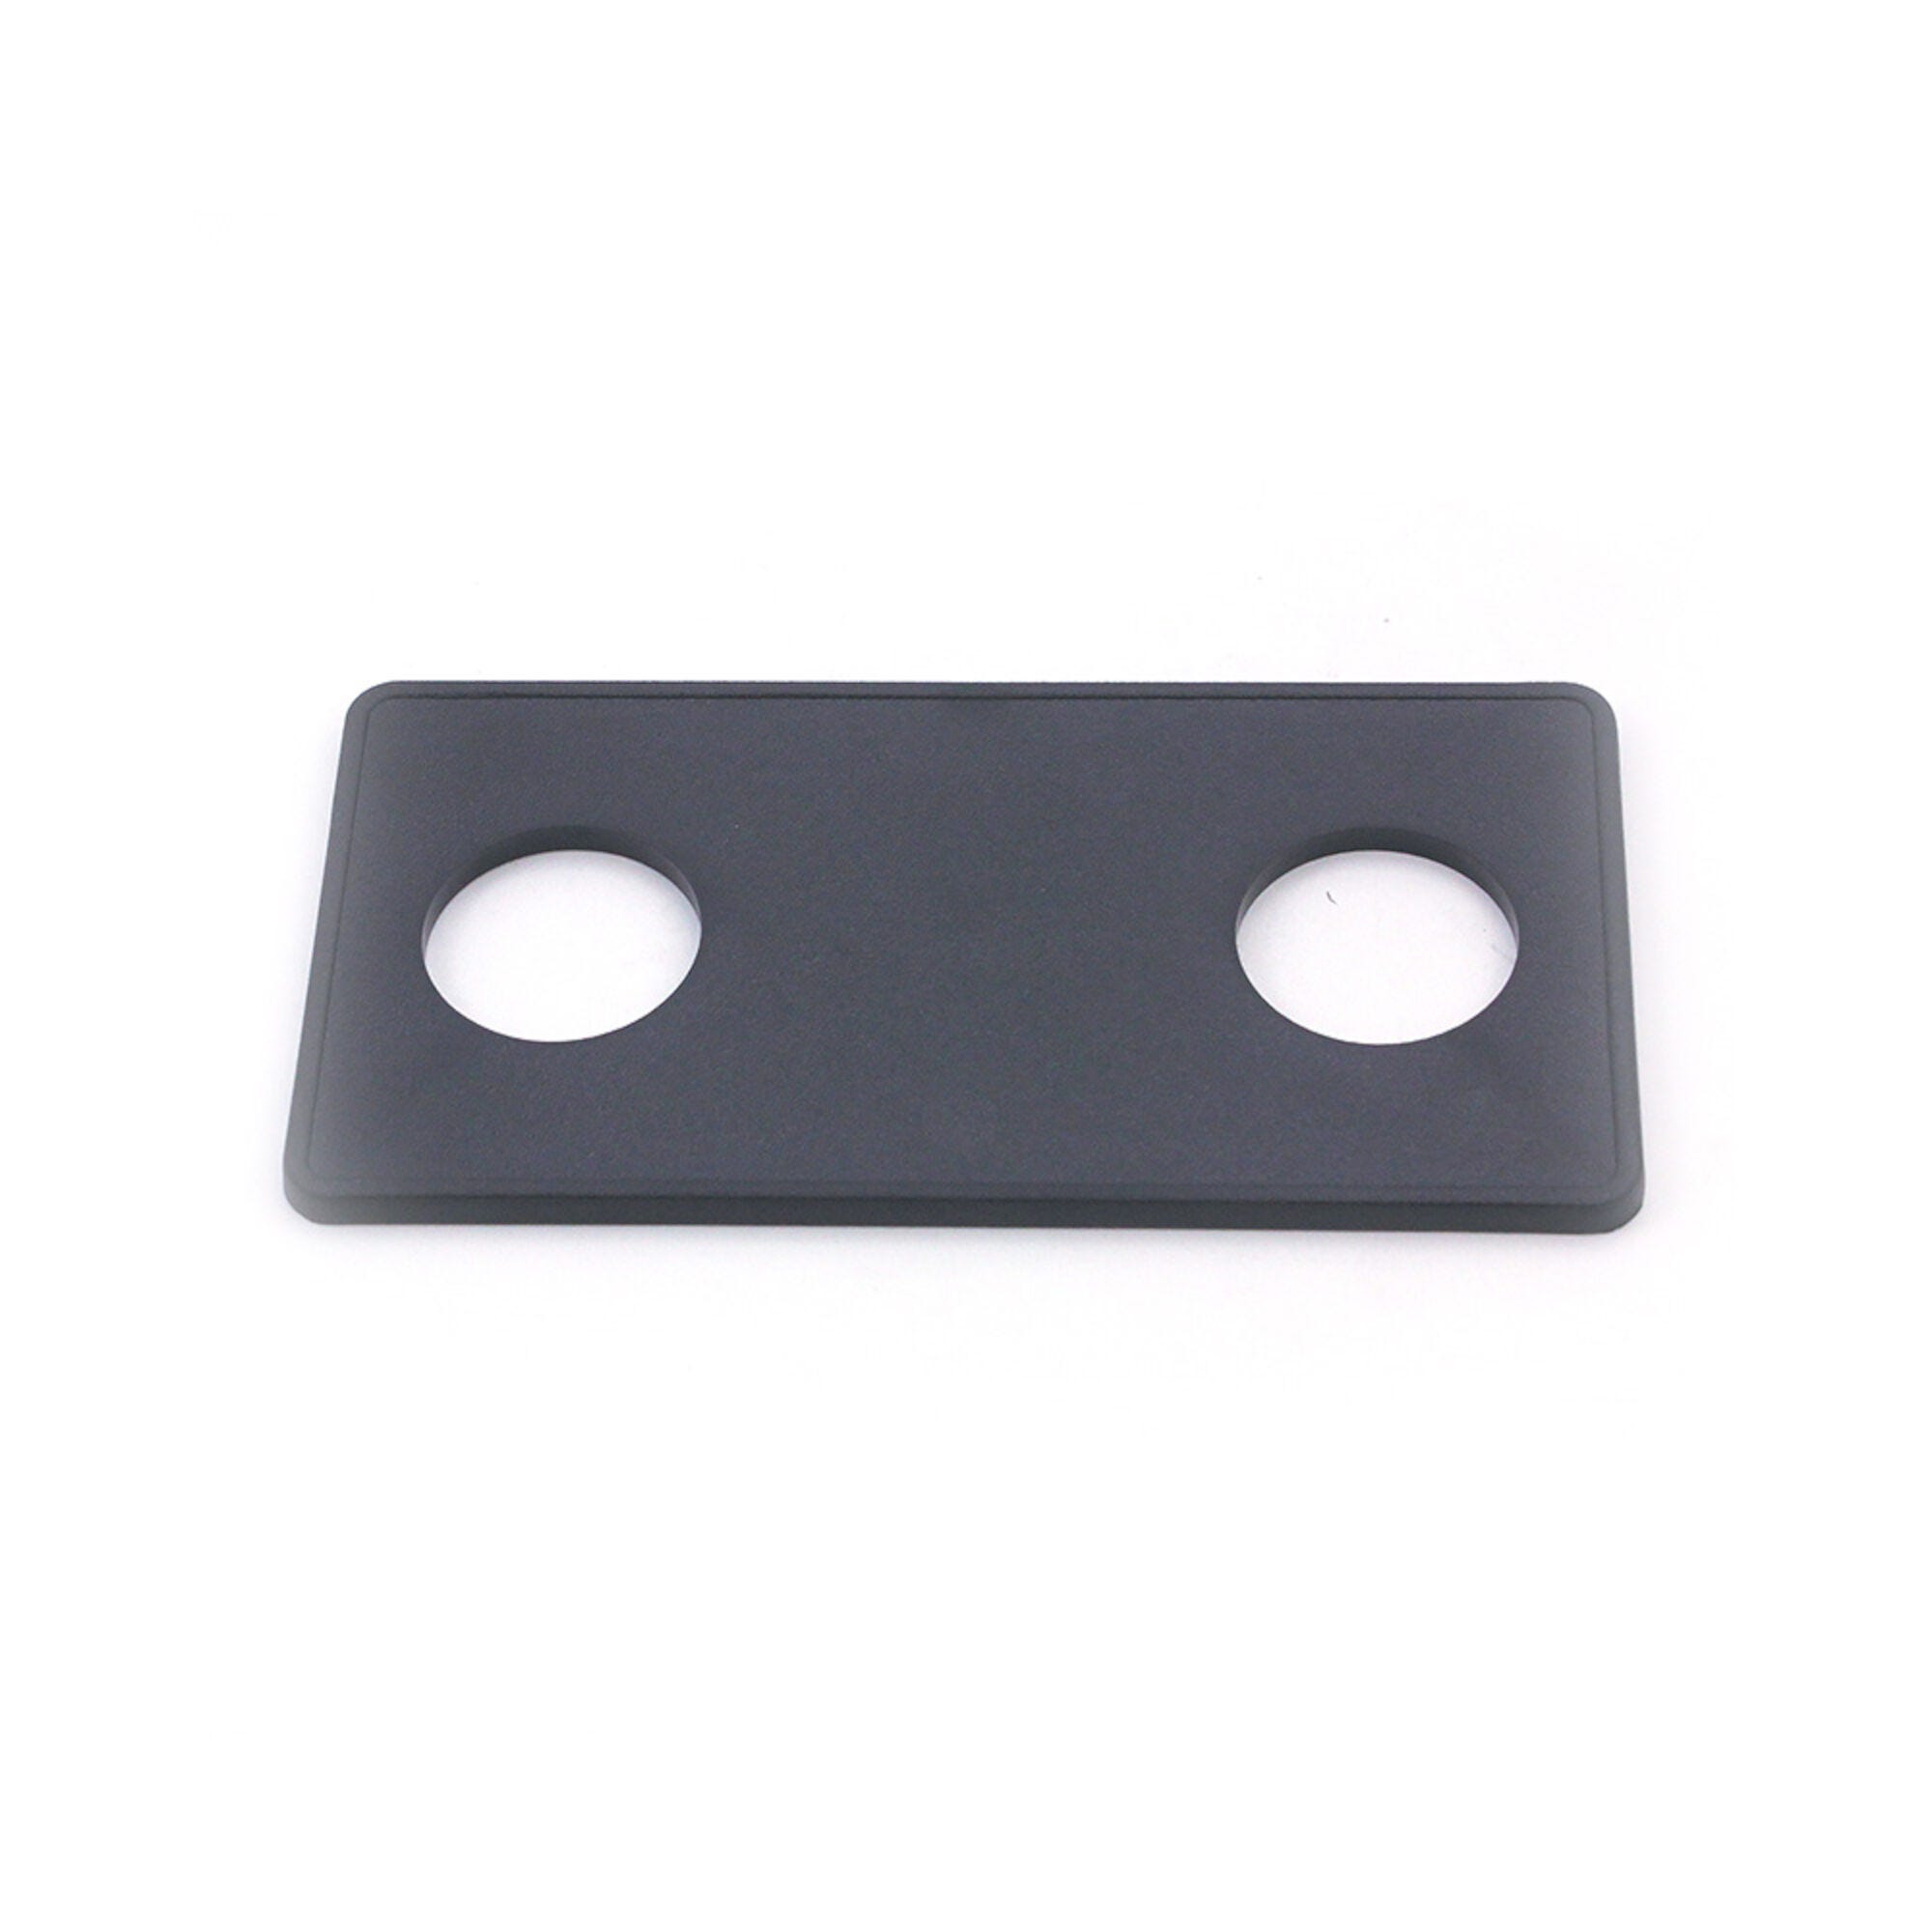
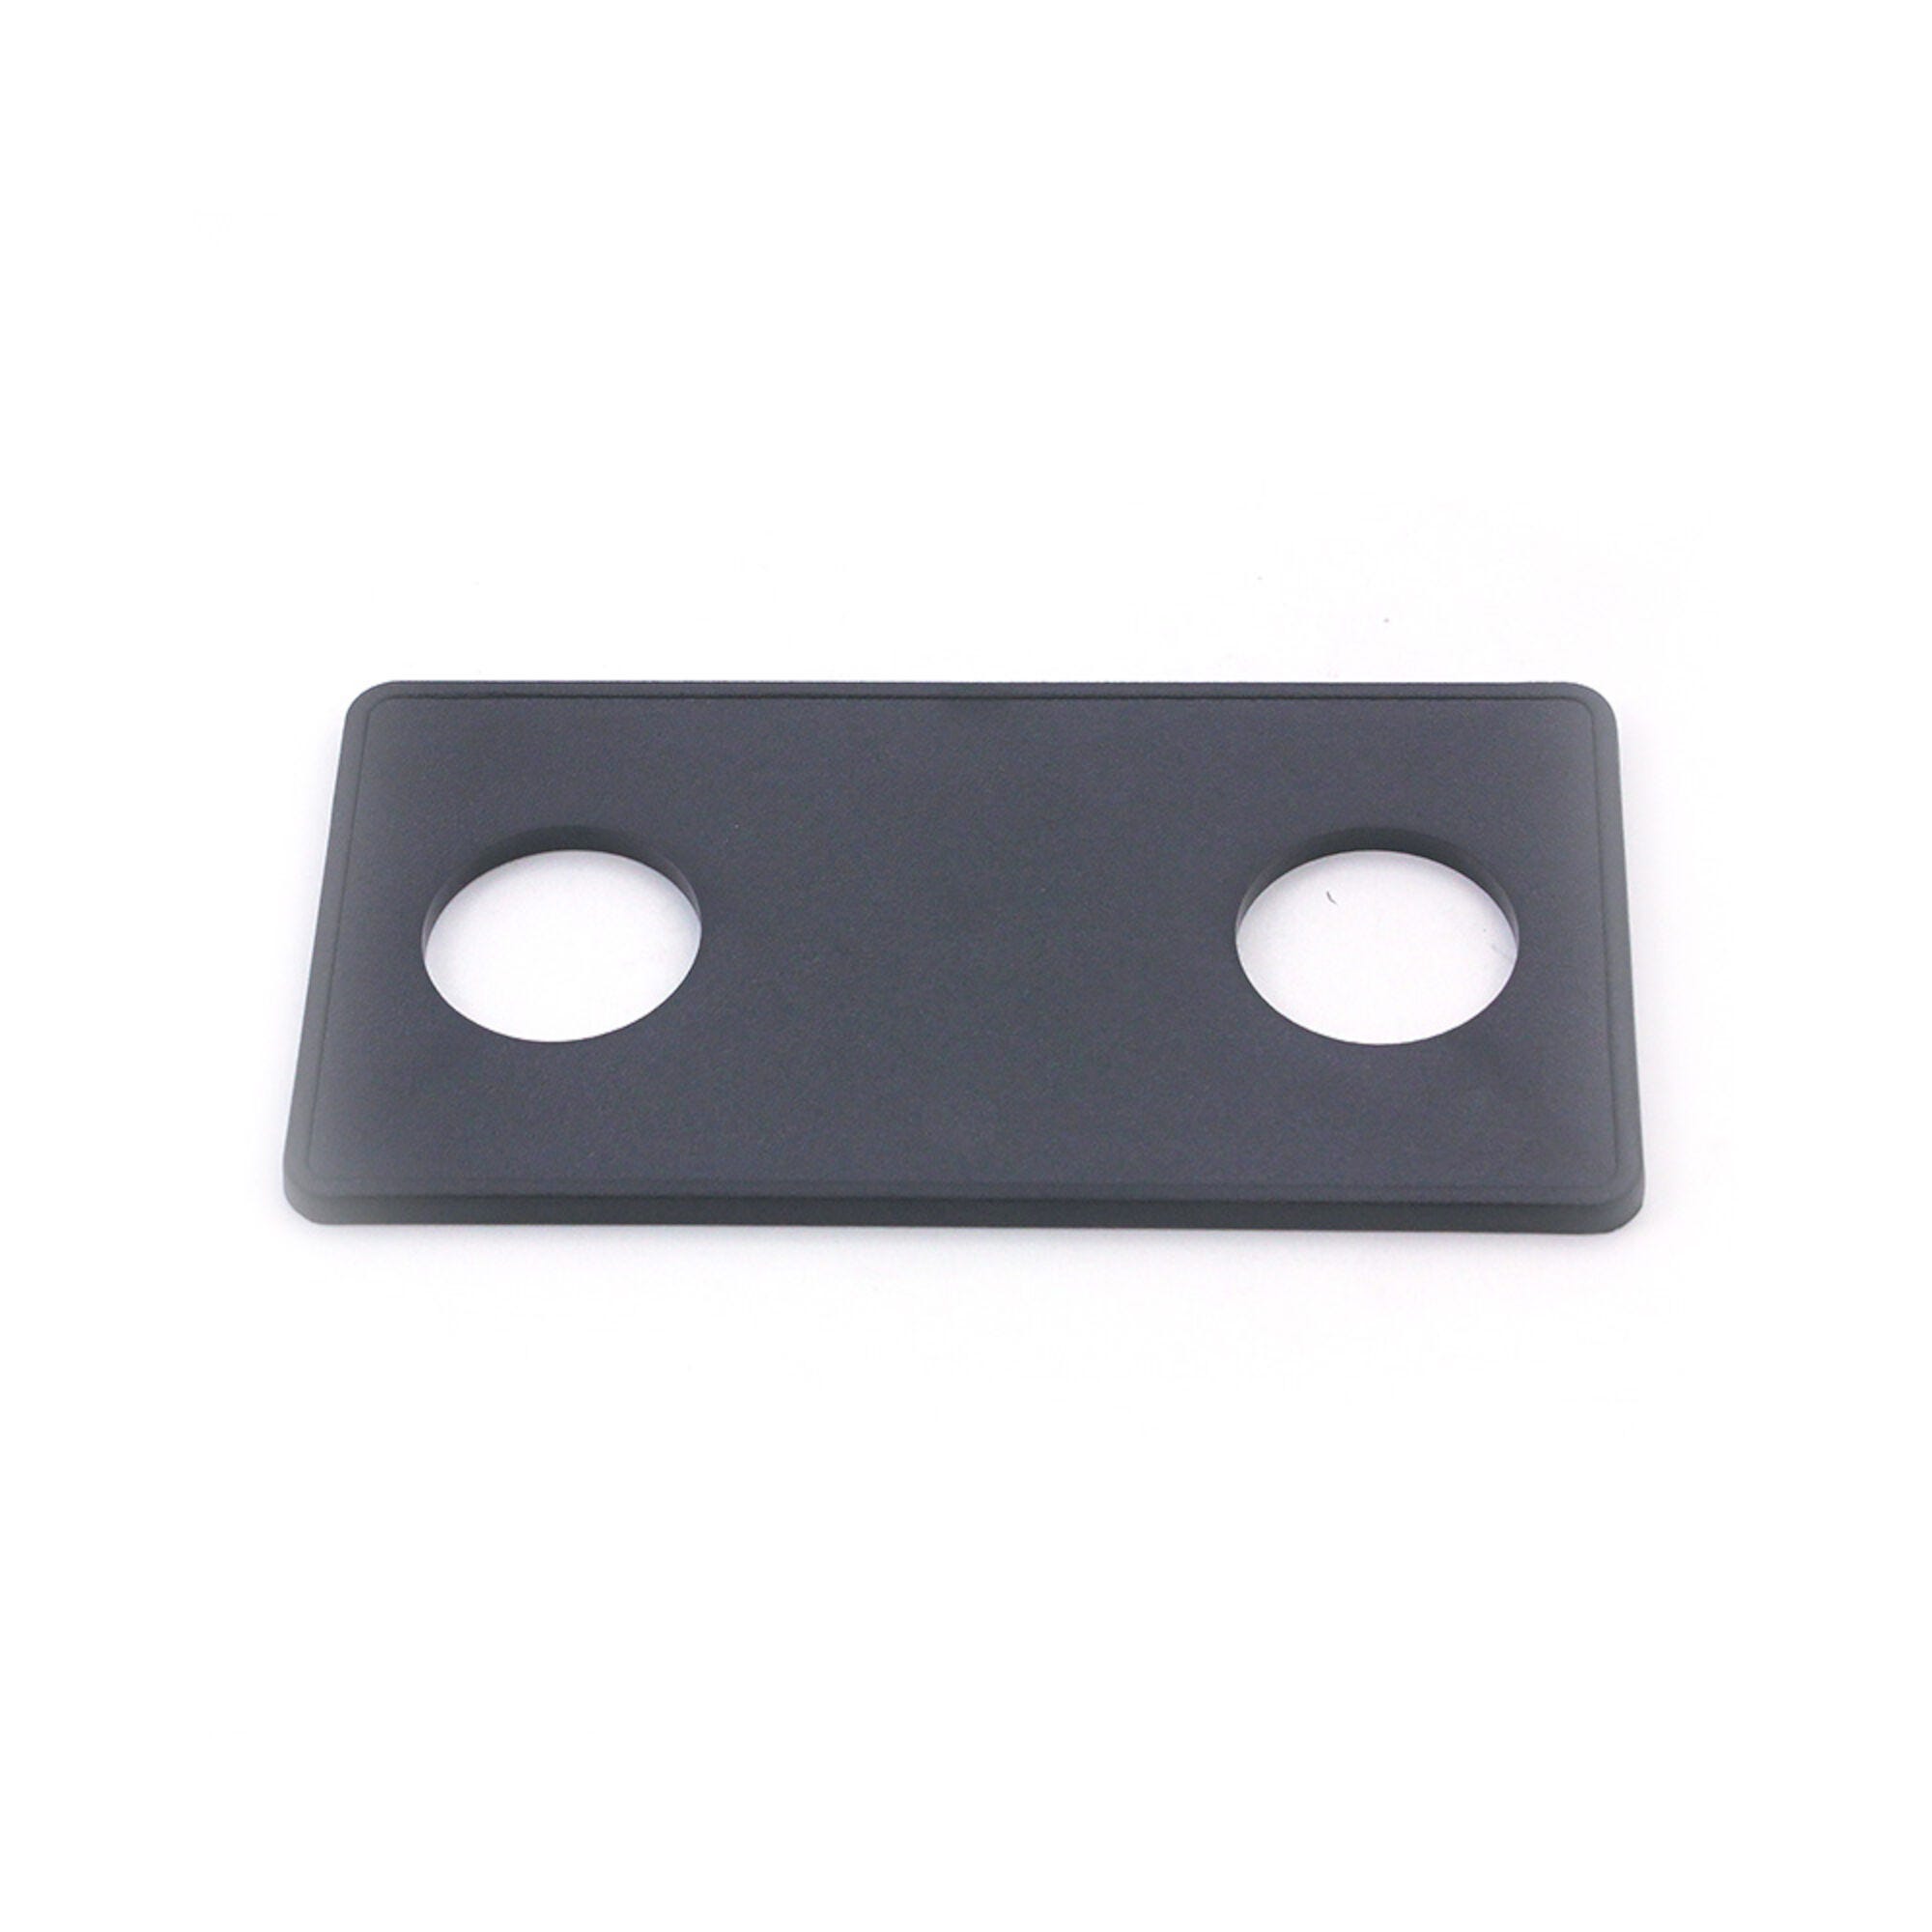
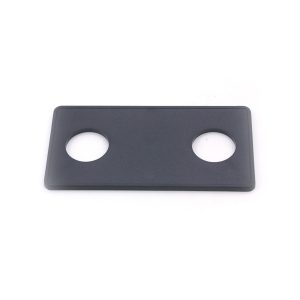
Len Gordon Plate 951522-000
$11.87
Plate, Air button, Len Gordon, 2 Button
Out of stock
Want to be notified when this product is back in stock?
Len Gordon Two-Button Air Control Plate (951522-000)
Product Overview
As a retailer of hot tub spare parts, I’m offering this Len Gordon two-button air control plate featuring a textured finish that eliminates the need for an additional overlay.
Features and Benefits
- Two-button configuration
- Textured black finish
- No overlay required
- Professional-grade construction
- Genuine Len Gordon component
- Durable deckplate design
- Weather-resistant materials
Technical Specifications
| Specification | Detail |
|---|---|
| Model Number | 951522-000 |
| Manufacturer | Len Gordon |
| Button Count | 2 |
| Color | Black |
| Type | Air Button Deckplate |
| Finish | Textured |
| Material | Weather-resistant polymer |
Applications
Specifically designed for:
- Air button control systems
- Spa control panels
- Air-actuated functions
Installation
The deckplate is designed for straightforward installation with air button systems. The textured finish provides both aesthetic appeal and functional durability without requiring an additional overlay.
Alternate Part Numbers
- 11-1042
- 59-439-1038
What is a Hot Tub Keypad Overlay?
A hot tub keypad overlay, also known as a spa control panel overlay, is a protective and decorative component used in hot tubs and spas. It typically consists of a thin, clear or colored piece of material, often made of durable plastic or silicone, that is designed to cover and protect the control panel or keypad of the hot tub.
Here's what a hot tub keypad overlay does:
-
Protection: The overlay acts as a protective barrier for the underlying control panel or keypad. It shields the sensitive electronics and buttons from exposure to water, chemicals, UV rays, and physical damage, such as scratches or abrasions. This helps extend the lifespan of the control panel.
-
Enhancement: Many overlays are designed with labels, graphics, and button outlines that enhance the appearance of the control panel. They often include icons or text that provide clear instructions for operating the hot tub, making it user-friendly, especially for those who may not be familiar with the hot tub's functions.
-
Customization: Hot tub keypad overlays can be customized to match the branding or style of the hot tub manufacturer. They may feature the manufacturer's logo, model name, or specific design elements. Some hot tub owners choose to customize overlays to add a personal touch to their spa.
-
Ease of Cleaning: The overlay is easier to clean and maintain than the underlying control panel. Spills, dirt, or chemical residues that come into contact with the overlay can be wiped away without affecting the control panel's functionality.
-
Replacement: Over time, keypad overlays may wear out or become damaged due to exposure to harsh spa conditions. Fortunately, they are relatively easy and cost-effective to replace when needed, allowing you to refresh the appearance of your hot tub's control panel.
When replacing a hot tub keypad overlay, it's essential to choose one that is compatible with your hot tub's make and model to ensure that the button layout and functions match the original control panel. This compatibility ensures that the overlay fits correctly and accurately represents the hot tub's settings.
In summary, a hot tub keypad overlay serves as a protective, decorative, and informative layer for the control panel, enhancing the user experience and prolonging the life of the hot tub's control system.
How do you replace a hot tub keypad overlay?
Replacing a hot tub keypad overlay is generally a straightforward process that can be done with some basic tools and careful attention. Here's a step-by-step guide on how to replace a hot tub keypad overlay:
Tools and Materials Needed:
- New keypad overlay (ensure it's compatible with your hot tub model)
- Screwdriver (usually a Phillips-head)
- Mild cleaner or rubbing alcohol
- Soft cloth or paper towels
Step-by-Step Instructions:
-
Turn Off Power: Start by turning off the power to your hot tub. This is essential for safety reasons.
-
Access the Control Panel: Depending on your hot tub's design, you may need to remove a cover or panel to access the control panel. Use a screwdriver to remove any screws or fasteners holding the cover in place.
-
Remove the Old Overlay: Carefully peel off the old keypad overlay. Begin at one corner and gently lift it away from the control panel. Take your time and be cautious not to damage the control panel or its components.
-
Clean the Control Panel: After removing the old overlay, use a soft cloth or paper towel and a mild cleaner or rubbing alcohol to clean the control panel's surface. This step ensures that the new overlay adheres properly and looks clean.
-
Prepare the New Overlay: Ensure that the new hot tub keypad overlay is clean and free of any dust or debris. If the new overlay has an adhesive backing, remove the protective film to expose the adhesive.
-
Align and Apply the New Overlay: Carefully align the new overlay with the control panel. Make sure it matches the button layout and design of the control panel. Begin by aligning one corner and gradually press the overlay onto the control panel's surface, working your way across. Smooth out the overlay to prevent air bubbles or wrinkles.
-
Secure the Control Panel Cover: If you had to remove a cover or panel to access the control panel, reattach it using the screws or fasteners you removed earlier.
-
Turn On Power: Once the new overlay is securely in place, and the control panel cover is reattached, turn the power back on at the main circuit breaker.
-
Test the Keypad: Test the keypad buttons to ensure they function correctly. Press each button to verify that it corresponds to the correct function on the hot tub.
-
Final Cleaning: After installation and testing, wipe down the new overlay with a clean, dry cloth to remove any fingerprints or residue.
You've now successfully replaced your hot tub's keypad overlay. Make sure to use a compatible overlay, and exercise caution during the replacement process to avoid damaging the control panel.
What is an Air Button?
An air button, also known as a spa air switch or pneumatic switch, is a control device commonly used in hot tubs, spas, and whirlpool baths. It allows users to operate various functions of the hot tub or spa, such as turning on the jets, lights, or other accessories, without the need for electrical switches near the water.
Here's how an air button typically works:
-
Button Placement: Air buttons are usually mounted on the spa's or hot tub's exterior, often around the top rim. They consist of a decorative button or cap that is visible and easily accessible to the user.
-
Tubing: Inside the spa or hot tub, a flexible plastic tubing or air hose connects the air button to specific components or functions, such as jet pumps, lights, or blowers.
-
Pneumatic System: When the air button is pressed, it sends a burst of air through the tubing to a pneumatic air switch located in the hot tub's equipment area. This air pressure activates the switch, which, in turn, controls the corresponding electrical component.
-
Function Control: Depending on the configuration, pressing the air button might activate jets for a hydrotherapy massage, turn on underwater lights, or operate other features like a blower or a waterfall.
-
Safety: One of the primary advantages of air buttons is their safety aspect. Since they are air-powered and not connected to electricity, there's no risk of electric shock when using them in or around the water.
-
Easy Installation: Air buttons are relatively easy to install and require minimal electrical wiring. This makes them a popular choice for spa and hot tub manufacturers.
-
Customization: Hot tub owners often have the flexibility to customize the functions controlled by air buttons to suit their preferences and needs.
In summary, an air button is a user-friendly control mechanism used in hot tubs and spas, allowing users to activate various functions through the simple act of pressing a button, while maintaining safety by using air pressure instead of direct electrical connections near water.
What do I do if my Air Button is not working?
f your hot tub's air button is not working, it can be frustrating, but there are several troubleshooting steps you can take to identify and potentially resolve the issue. Here's what to do if your air button isn't functioning:
1. Check for Power:
- Ensure that your hot tub has power. Sometimes, the issue may not be with the air button itself but with the overall power supply to the tub. Check if the circuit breaker or GFCI (Ground Fault Circuit Interrupter) has tripped. If it has, reset it.
2. Inspect the Air Tubing:
- The air tubing that connects the air button to the pneumatic air switch in the equipment area should be intact and free of kinks, blockages, or damage. Any damage to the tubing can prevent air pressure from reaching the switch. If the tubing is damaged, replace it.
3. Check for Air Leaks:
- Inspect the air button and tubing connections for any air leaks. Leaks can disrupt the air pressure needed to activate the switch. Ensure that the connections are tight and that there are no cracks or gaps.
4. Test the Air Button:
- Remove the air button's decorative cap or cover and press the button itself. You should hear or feel a slight rush of air when you press it. If there is no sensation or sound, it may indicate a blockage or malfunction in the air button itself.
5. Examine the Pneumatic Air Switch:
- The pneumatic air switch is usually located in the hot tub's equipment area. Ensure that it is properly connected to the air tubing and that there are no obstructions in the switch itself.
6. Confirm the Functionality of Components:
- If your hot tub's air button controls multiple functions like jets, lights, or other accessories, check if any of these components are working through alternative means. For example, if the jets are not turning on using the air button, try activating them using the control panel. If they work using the control panel, it suggests that the problem may be with the air button or tubing.
If all else fails, you might need to replace the air button.
How do I replace an Air Button?
Replacing an air button in your hot tub or spa can be a straightforward process. Here are the general steps to follow:
Tools and Materials You'll Need:
- Replacement air button and tubing (ensure they are compatible with your hot tub model)
- Screwdriver
- Pipe cutter or scissors (for cutting tubing)
- Sealant (optional)
- Teflon tape (optional)
Steps to Replace an Air Button:
-
Turn off the Power: Before you begin any work on your hot tub, it's crucial to turn off the power at the circuit breaker to ensure your safety. Water and electricity are a dangerous combination.
-
Access the Old Air Button: Remove any decorative cover or cap from the old air button. In most cases, you can do this by turning the cap counterclockwise. Once removed, you'll see the air button assembly.
-
Disconnect Tubing: Carefully detach the flexible tubing connected to the old air button. This tubing runs from the air button to the pneumatic air switch located in the hot tub's equipment area. Gently pull the tubing out from the air button, making sure not to damage it.
-
Remove the Old Air Button: Use a screwdriver to unscrew the old air button assembly from the spa or hot tub's surface. Once the screws are removed, you can lift the assembly out.
-
Prepare the New Air Button: If your replacement air button is not preassembled, follow the manufacturer's instructions to put it together. This typically involves inserting the tubing into the new air button.
-
Position the New Air Button: Place the new air button assembly in the same location where the old one was. Align it properly and ensure it fits securely.
-
Connect Tubing: Attach the tubing from the new air button to the existing tubing coming from the pneumatic air switch. You may need to cut the tubing to the appropriate length if it's too long. Use a pipe cutter or scissors for this. Ensure the connection is secure.
-
Seal (Optional): If necessary, apply a small amount of sealant or Teflon tape to the threads of the air button assembly to prevent water from seeping in. Be careful not to use too much, as excess sealant can obstruct the air button's operation.
-
Secure the New Air Button: Use a screwdriver to fasten the new air button assembly in place. Ensure it is snug and won't come loose.
-
Test the New Air Button: Restore power to the hot tub at the circuit breaker. Test the new air button to ensure it operates the desired functions correctly, such as turning on the jets or lights. If it works as expected, you've successfully replaced the air button.
Remember to follow the specific instructions provided with your replacement air button, as the installation process may vary slightly depending on the make and model of your hot tub or spa. If you're unsure about any step, it's always a good idea to consult the manufacturer's manual or get in touch!
| Brand | Len Gordon |
|---|
Related products
Spa Accessories
Spa Accessories
Spa Accessories
Spa Accessories
Spa Accessories
Spa Accessories
Spa Accessories
Spa Accessories

