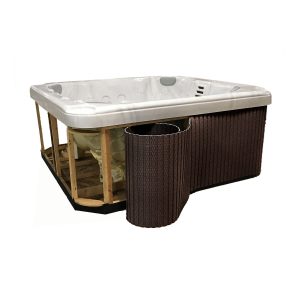
Confer Plastics Flexible Spa Panel Kit FSP-E (Espresso Color)
$449.00
Flexible Spa Panel Kit, Espresso, Fits Spas Up To 96″ x 96″
Out of stock
Want to be notified when this product is back in stock?
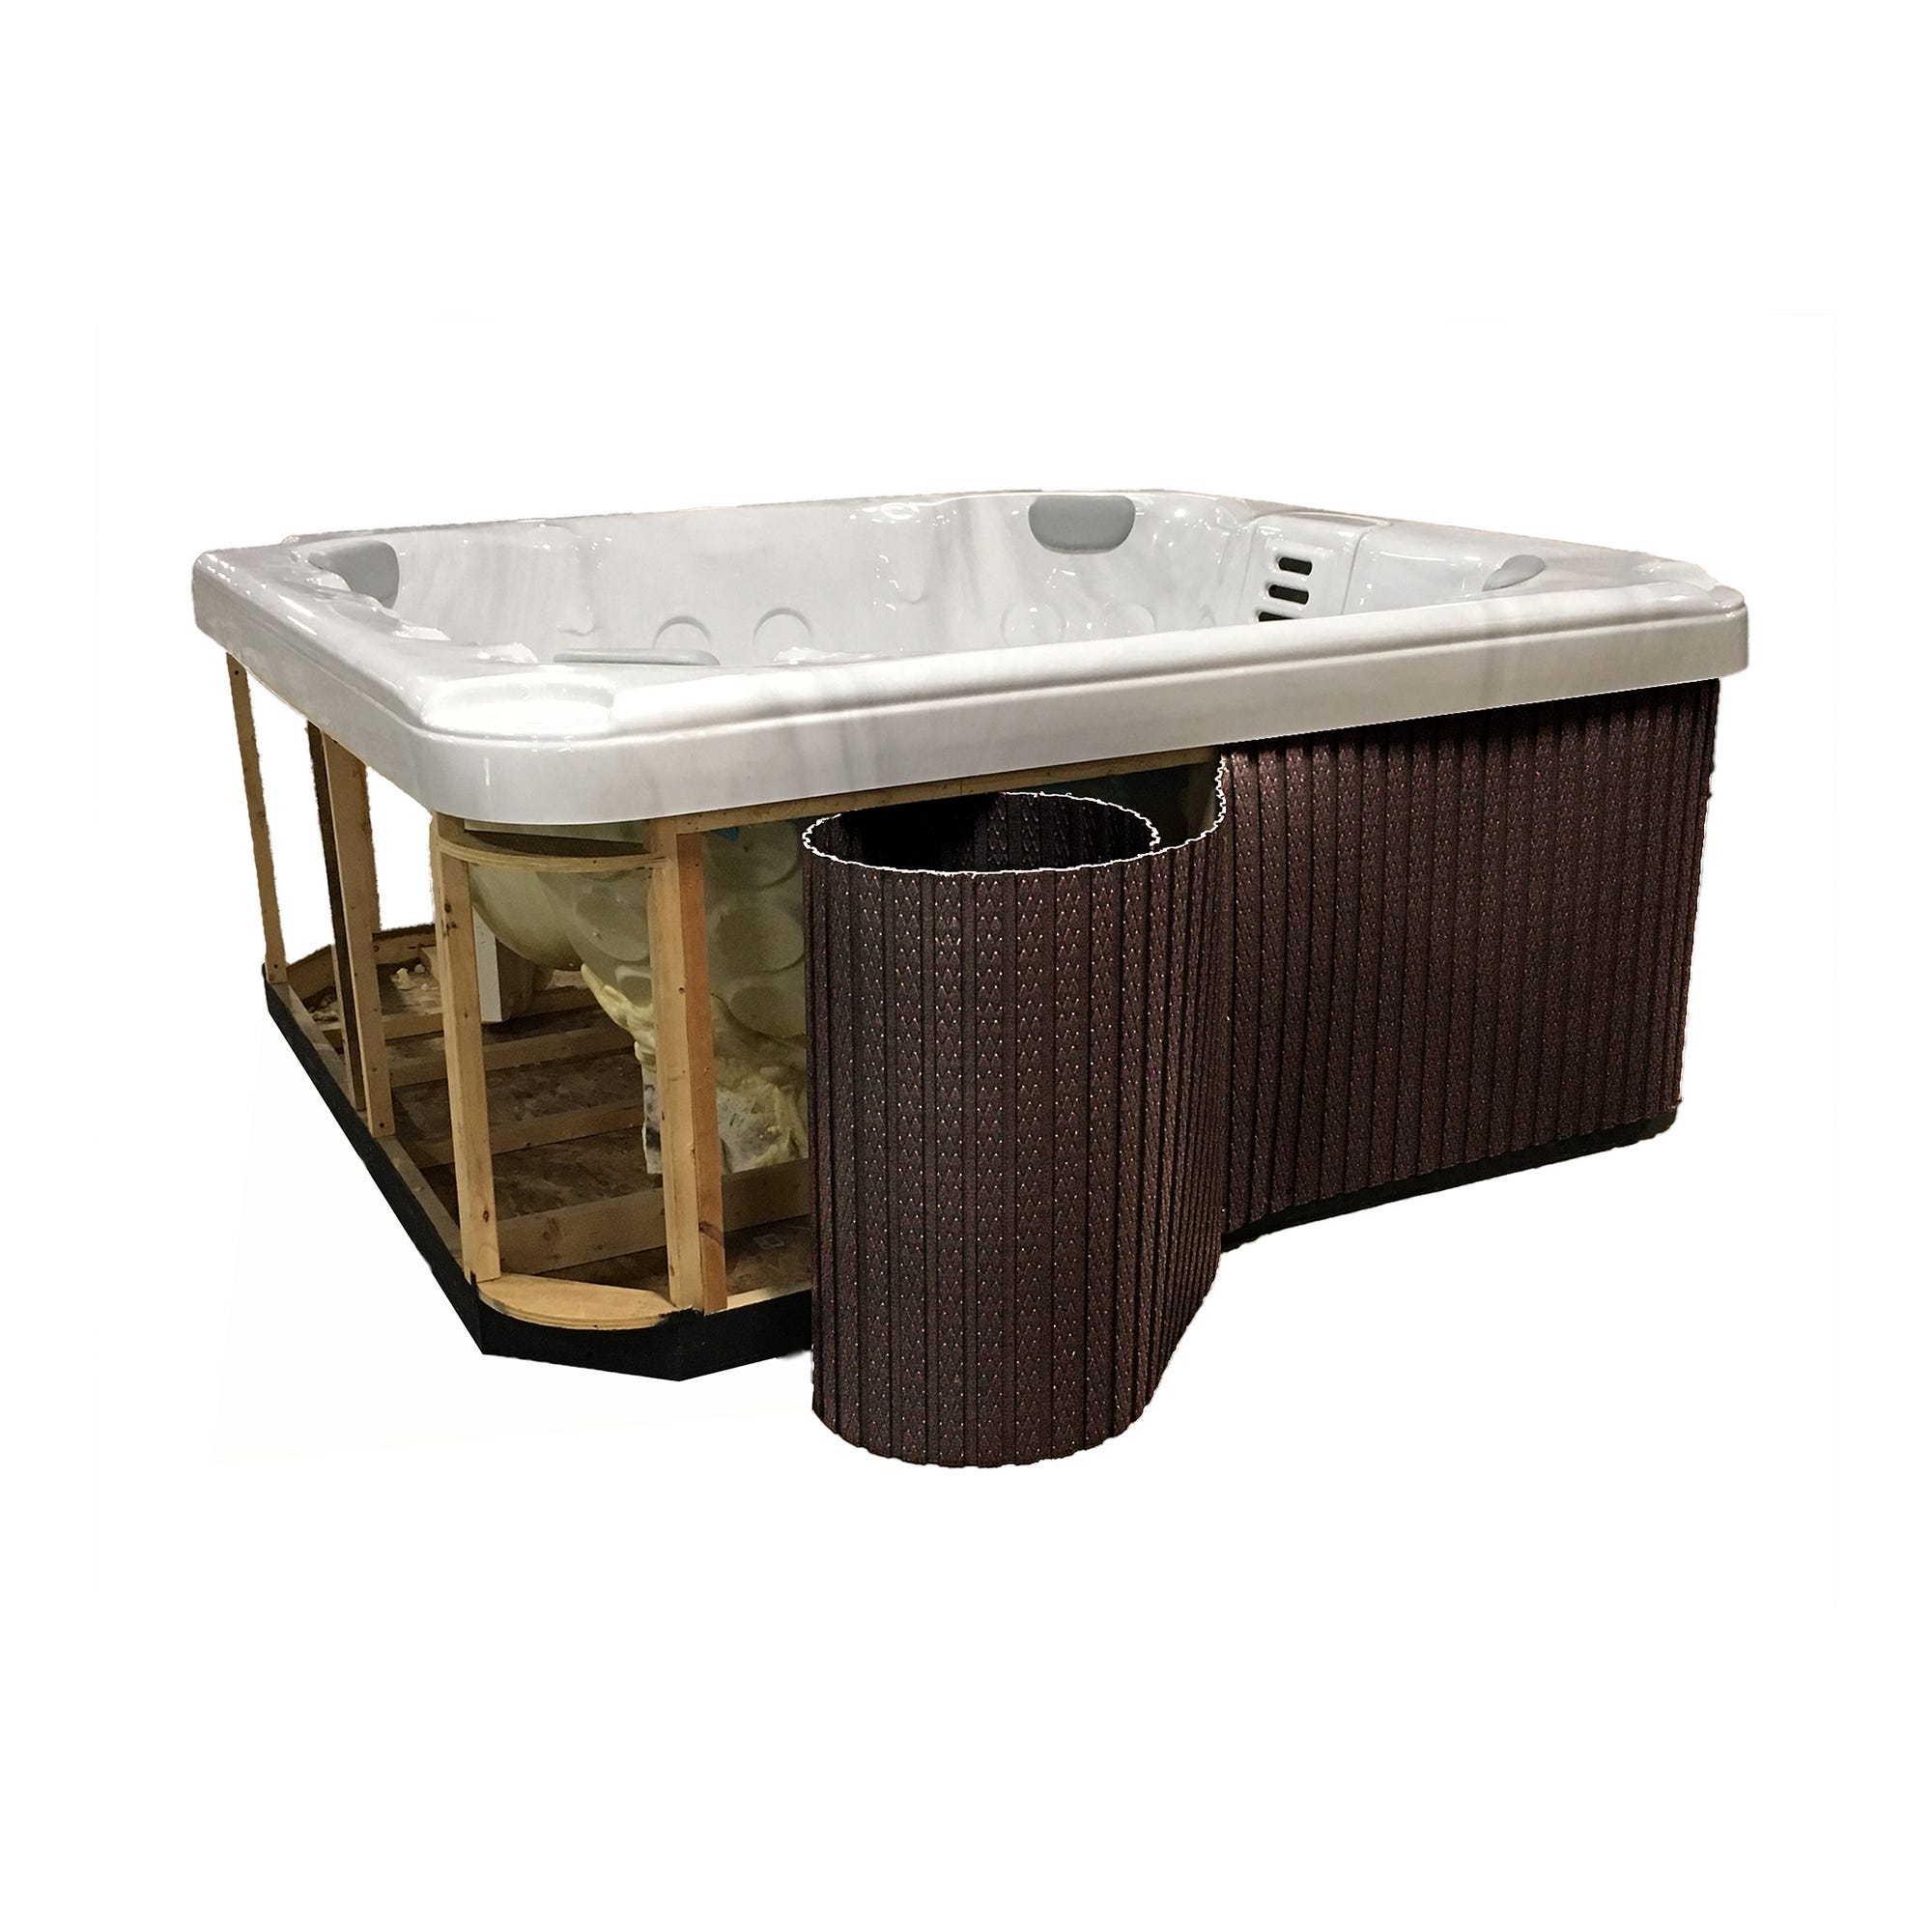
Confer Plastics Flexible Spa Panel Kit FSP-E — Espresso Color
- Works on spas up to 96″ x 96″
- Flexible panels will work on any radius
- Comes with matching hardware
- UV/Weather resistant
Usage instructions:
- Is the length of your hot tub less than a 96″ x 96″ (or 32′ in total length)
- Is your panel height less than 34.5″
- Then this will work to replace the panels on your hot tub!
- No! The FSP can be installed right over your existing skirting! If you choose to remove the skirting, some additional framework will be necessary to reinforce where the panels overlap.
- The panels have a built-in overlap design

- Yes! We include color-matched screws
What tools do I need for assembly?
- The installer will need a circular saw, a string, measuring tape, a drill, and a pencil
- We include flange pieces for an access door.
- Read more in install instructions HERE
- In a single carton in 5 separate rolls


How to replace the Spa Skirting of a hot tub using Flexible Spa Panel Kit from Confer Plastics?
Replacing the spa skirting (also known as the spa cabinet or exterior panels) on your hot tub using a Flexible Spa Panel Kit from Confer Plastics can be a relatively straightforward DIY project. Here’s a step-by-step guide to help you through the process:
Materials and Tools Needed:
- Flexible Spa Panel Kit from Confer Plastics (make sure it matches your hot tub model)
- Screwdriver
- Drill with screwdriver bit
- Saw (if needed to trim panels)
- Measuring tape
- Level
- Clamps
- Safety glasses and gloves
Step-by-Step Instructions:
- Prepare the Area:
- Ensure your hot tub is empty and disconnected from the power source.
- Clear any debris or obstructions around the spa skirting area.
- Remove the Old Skirting:
- Start by carefully removing the old spa skirting panels. These are usually attached with screws or clips.
- Use a screwdriver or drill to remove any screws securing the old panels.
- Gently pull the old panels away from the hot tub’s frame. Be cautious not to damage any underlying components.
- Measure and Trim (if needed):
- Measure the space where the new spa panels will be installed.
- If the panels from the kit are larger than your hot tub’s dimensions, you may need to trim them to fit. Use a saw to cut the panels to the appropriate size.
- Attach the New Panels:
- Begin with one panel at a time.
- Align the panel with the hot tub’s frame, ensuring it’s level and fits snugly.
- Use clamps to hold the panel in place temporarily.
- Drill pilot holes through the panel into the hot tub’s frame.
- Secure the panel in place with screws, making sure it’s firmly attached. Repeat this process for all panels.
- Continue Installation:
- Repeat the panel installation process for all sides of the hot tub.
- Ensure that each panel fits tightly and aligns with the others for a seamless appearance.
- Finish the Corners:
- Use corner pieces from the kit to finish the corners neatly. These are often designed to snap into place.
- Make sure the corner pieces are secure and provide a clean, finished look.
- Check and Tighten:
- Once all panels are installed, double-check that they are level and securely attached.
- Tighten any screws as needed to ensure a snug fit.
- Reconnect and Test:
- Reconnect your hot tub to the power source and fill it with water.
- Test all functions of the hot tub to ensure there are no issues with the new skirting.
- Final Touches:
- Clean the new skirting panels to remove any fingerprints or marks.
- Consider applying a protective UV-resistant treatment if recommended by the manufacturer to prolong the life of the panels.
By following these steps and carefully installing the Flexible Spa Panel Kit from Confer Plastics, you can refresh the look of your hot tub with new skirting panels. Ensure that you adhere to the manufacturer’s instructions and safety guidelines throughout the installation process.
| Brand | Confer Plastics |
|---|
Related products
Sundance Circuit Boards
Gecko Heating
Hydro-Quip Heaters
Sundance Topside Controls
Balboa Circuit Boards
Hydro-Quip Spa Controls
Hydro-Quip 6000 Series Spa Control Flow Thru Heater CS6200Y-U-WP
ACC Overlays

